
4.3. Project Set-Up
In this module, you’ll learn how to organize your project files so they are easy for newcomers to navigate. You’ll also create your very first GitHub issue!
Format
Read, watch videos, use GitHub
Prerequisites
Have completed all previous sections and modules
Materials
A computer, an internet connection, and a free GitHub account
- Project Structure and Organization
- Assignment: Add Your First Issue
- More GitHub Resources and Tutorials
Project Structure and Organization
To work most effectively with contributors, your project structure should be clean and welcoming, with folder titles that make sense. For example, your project might have different folders for data, technical documentation, and images. README.md and CONTRIBUTING.md (which you’ll make in the next module) should be in your root directory, along with your ROADMAP. Think of these documents as an anchor for your project. As you add files, you may want to organize these into folders and create a consistent naming convention. Here’s an example of a good project set-up.
.
├── docs
├── images
├── src
├── .gitignore
├── CONTRIBUTING.md
└── README.md
└── ROADMAP
Few example projects,
- GitHub hubot - CoffeeScript
- nteract - JavaScript
- Picasso - Java
- Laravel - PHP
- Ansible - Python
GitHub is not only a place to store your files, and a way of managing collaborations, but also a great tool to organize the work you plan to do, and keep you on task. Here’s how:
Github For Project Management, Hannah Kane
Now that you’ve seen how GitHub can be used to organize and plan work, you’re ready to plan some work in your own GitHub repository.
Assignment: Add Your First Issue
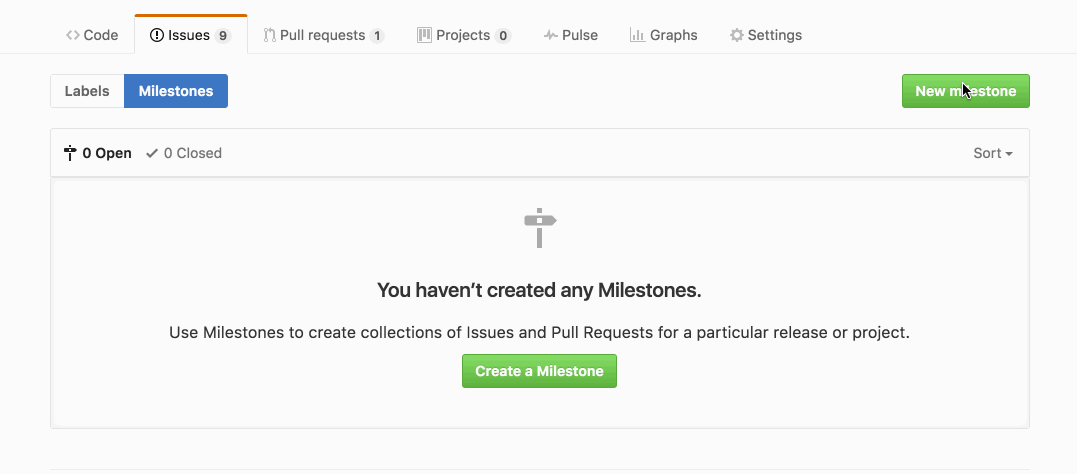
- Create some milestones for your project. Refer to the roadmap you created in Section 2 (and added to the repo in the previous module). If you have milestones already specified in the roadmap, add them to your GitHub repo. If you don’t have milestones, come up with two or three– these are significant turning points or events that will move the project forward. You will use these to organize your issues.
- Give each milestone a title and brief description.
- Use the calendar interface to assign a date to the milestone.
- Save this milestone. It will now appear as an option
- (Optional) Create some labels. Click on the labels tab and add any new labels you’d like. These labels can help categorize an issue, or provide information about the priority or status of the issue. GitHub has some label options already baked in. These give you an idea of the kinds of labels that can be useful.
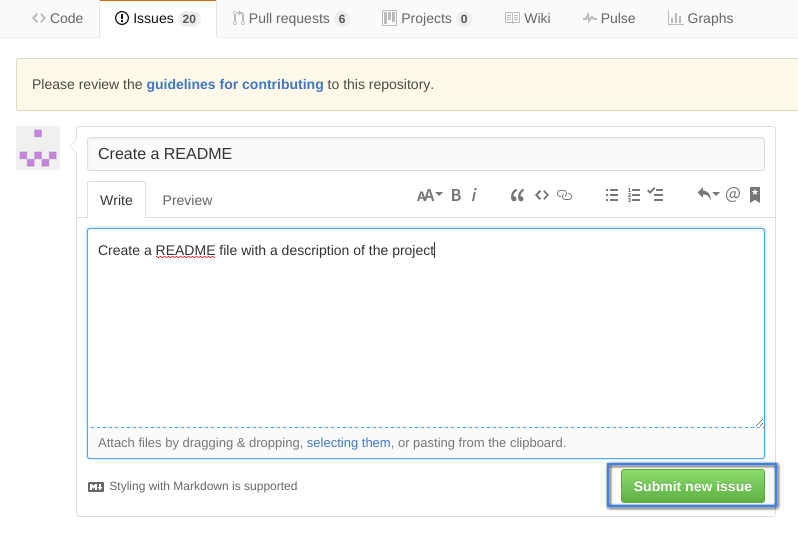
- Add some issues. As you’ve seen, an issue is a bit of information about work that needs to be done, a description of the next task you’re planning on doing. If you’re not sure what task to start with, go back and check out the Roadmap you created in Module 2, where you’ve outlined upcoming work.
- Describe the work you plan to do. Use a checklist, if a task has multiple parts.
- Provide context to show how this task relates to the larger plan described in your Roadmap.
- If you like, give your new issue a label. Use the ones you’ve created, or the ones GitHub provides.
- Add a milestone to your issue, to add a bit more information about the task, and how it fits into your larger project roadmap. Click on the Milestones button in the sidebar and select from the list of options you created in Step 1.
- Save the issue. Now you’re ready to get to work! (When this issue is eventually completed, you can close it. It will disappear from your Open issues tab and appear under the Closed issues tab. You can revisit it there at any time, to review work completed.) If you have an issue with multiple steps or tasks, use Markdown’s “checkbox” feature, and check off each task as you complete it.
For more on GitHub and what the platform can do, see our list of Resources and Tutorials below.
More GitHub Resources and Tutorials
- Try GitHub - Interactive Tutorial to learn GitHub
- Git Tutorial - Illustrated Git Tutorial
- GitHub Guides - General guides authored by GitHub
- GitHub Help - General FAQ authored by GitHUb
- Creating an Issue - GitHub authored article on how to create an issue
- Mastering Issues - Issues are a great way to keep track of tasks, enhancements, and bugs for your projects
- Adding Existing Projects to GitHub - Learn how to add existing projects to GitHub using the command line
- Creating a Repo - Learn how to create a repo
- Fork a Repo - Learn how to fork a repo
- Adding a remote - Learn how to add a new remote
- Renaming a remote - Learn how to rename an existing remote
- Working with remote - Git Basics-Working with remote
Now that your project is on GitHub, it’s ready to be shared widely. In the final module of this section, you’ll learn about licenses for sharing an open project.
next: Sharing Your Work in The Open